Home
Cases
Services
Clients
About
Contact
Blog
Jobs
See what our curiosity does
Blog
How Gen Z uses AI and what businesses can learn from it
AI
What is Generative Engine Optimization (GEO) and how does it work?
AI
DotControl Selmore Dékuple, a new European adventure
dekuple
Getting lost in the AI tools for UX? We got you
AI
Selmore x DotControl win pitch for Domino's
No-Code vs. High-Code: A Webflow and Umbraco Showdown
umbraco
Supercharging Success: Conversion Boost with Smart B2B Flow
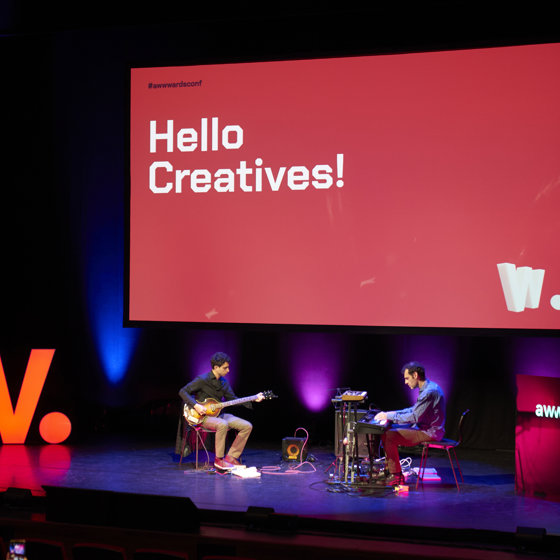
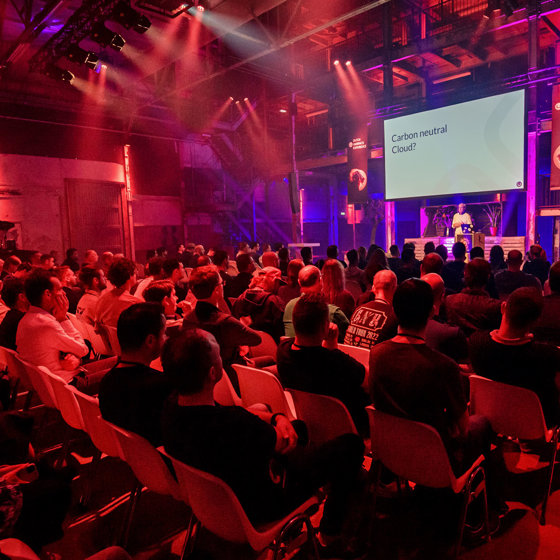
Awwwards Digital Thinkers Conference 2023 Takeaways
events
Umbraco's DUUGfest 2023
events
1
2
3
4
5
6
7
8
 dekuple